
Photo Preview
Photo Settings
Basic colour replacement works best on plain backgrounds.
Upload a photo to get started.
Photo Sheet Preview
How to Use PSCSize Passport Photo Maker – Step-by-Step Guide
Step 1: Upload Your Photo
Open PSCSize Passport Photo Maker and click the Upload Passport Photo button. Select your JPG, PNG or WebP image from your device.
Step 2: Select Background Colour
Choose your preferred background colour from the available options:
- White
- Light Blue
- Blue
- Red
- Custom Colour
Step 3: Replace Photo Background
Tick the Replace Plain Background checkbox to replace the original plain background with your selected colour. Adjust Background Sensitivity if required.
Step 4: Adjust Photo Effects
Use the editing sliders to adjust:
- Brightness
- Contrast
- Saturation
Check the Photo Preview after making changes.
Step 5: Select Number of Photos
Choose how many copies you want to create:
- 4 Photos
- 8 Photos
- 16 Photos
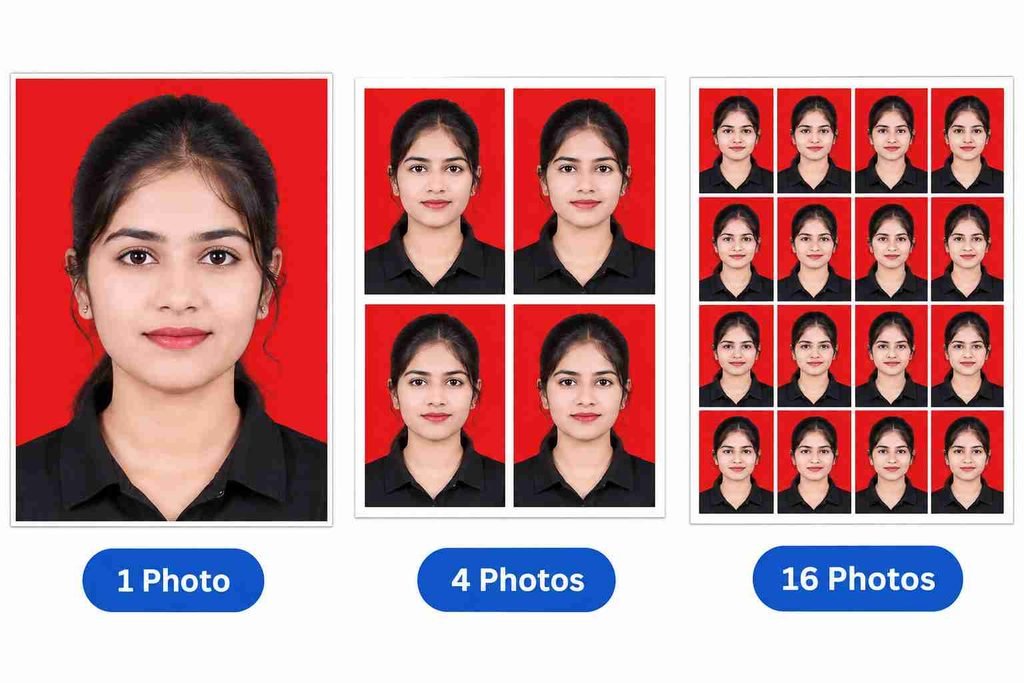
Step 6: Create Photo Sheet
Click the Create Photo Sheet button. Your selected number of photos will appear in the Photo Sheet Preview.
Step 7: Download Your Photo
You have two download options:
- Download Photo: Download your edited single photo.
- Download Photo Sheet: Download the complete sheet containing 4, 8 or 16 photos.
Frequently Asked Questions (FAQs)
1. How do I upload a photo to PSCSize?
Click Upload Passport Photo and select an image from your mobile or computer.
2. Can I change the background colour?
Yes, you can select white, light blue, blue, red or a custom colour.
3. How many photos can I create at once?
You can create 4, 8 or 16 copies of your uploaded photo.
4. Can I adjust brightness and contrast?
Yes, the tool provides brightness, contrast and saturation controls.
5. Can I download a single photo?
Yes, click Download Photo to save your edited individual photo.
6. Is PSCSize Passport Photo Maker free?
Yes, PSCSize Passport Photo Maker is free to use online.